How To Use Wireless Lavalier Microphone
How To Use Wireless Lavalier Microphone
How To Use Wireless Lavalier Microphone

Using a wireless lavalier microphone (also known as a lapel mic) is a great way to achieve hands-free, clear audio for presentations, interviews, videos, or live performances. Here’s a step-by-step guide to setting up and using a wireless lavalier microphone:
1. Unbox and Check Components
Ensure you have all the necessary parts:
- Lavalier microphone
- Wireless transmitter (bodypack)
- Wireless receiver
- Cables (XLR, 1/4″, or USB, depending on your system)
- Power adapters or batteries
- Clip or magnet for attaching the microphone
2. Power On the System
- Insert batteries into the transmitter and receiver, or charge them if they are rechargeable.
- Turn on both the transmitter and receiver.
3. Pair the Transmitter and Receiver
- Most systems pair automatically when powered on. If not, follow the manual pairing instructions in the user manual (this may involve selecting the same frequency or channel on both devices).
4. Attach the Lavalier Microphone
- Clip the lavalier microphone to your clothing, about 6–8 inches below your chin. Position it slightly off-center to avoid breathing noise.
- For better sound quality, hide the microphone under clothing, but ensure the mic capsule is not obstructed by fabric.
- Use the included windscreen or foam cover to reduce plosive sounds (like “p” and “b” sounds).
5. Connect the Receiver to Your Audio System
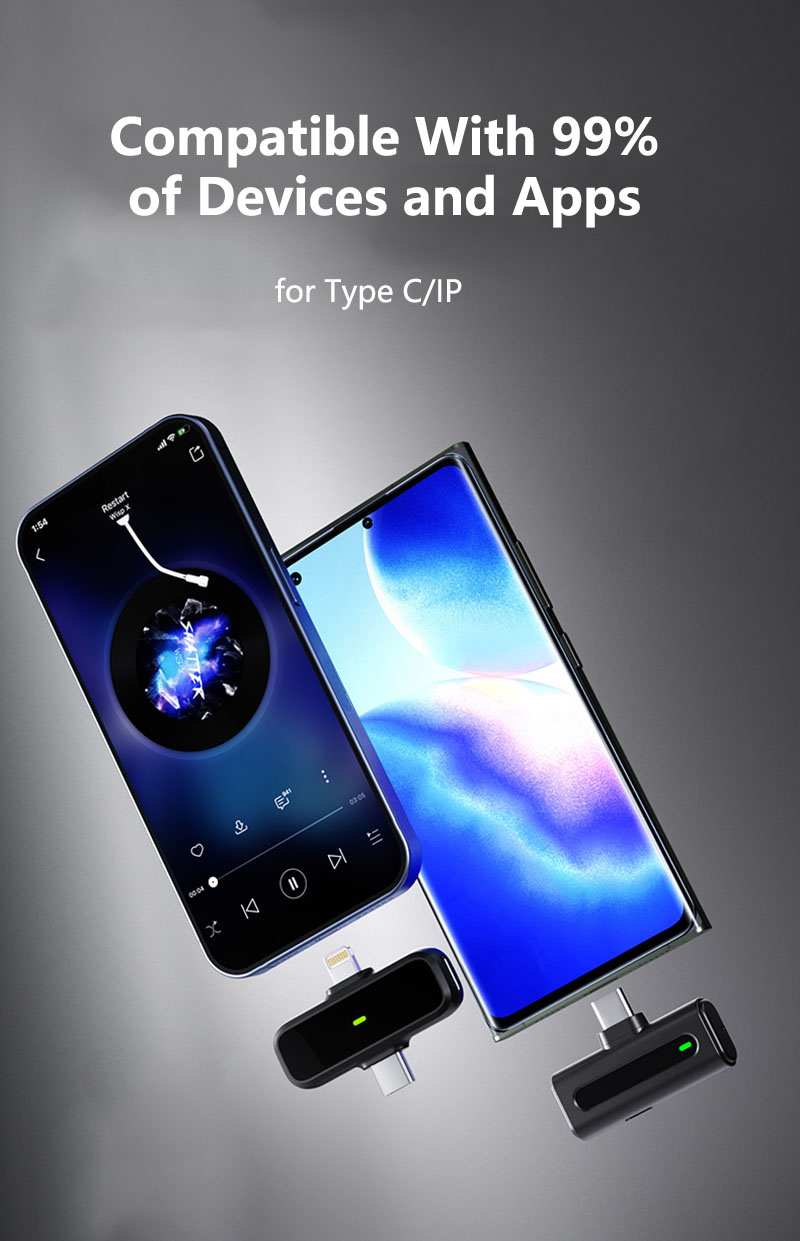
- Use the appropriate cable (XLR, 1/4″, or USB) to connect the receiver to your mixer, camera, recorder, or PA system.
- Ensure the connections are secure to avoid audio dropouts or noise.
6. Test the Microphone
- Speak at your normal volume to check the audio levels and clarity.
- Adjust the gain on the receiver or audio system to avoid distortion or feedback.
7. Monitor the Audio
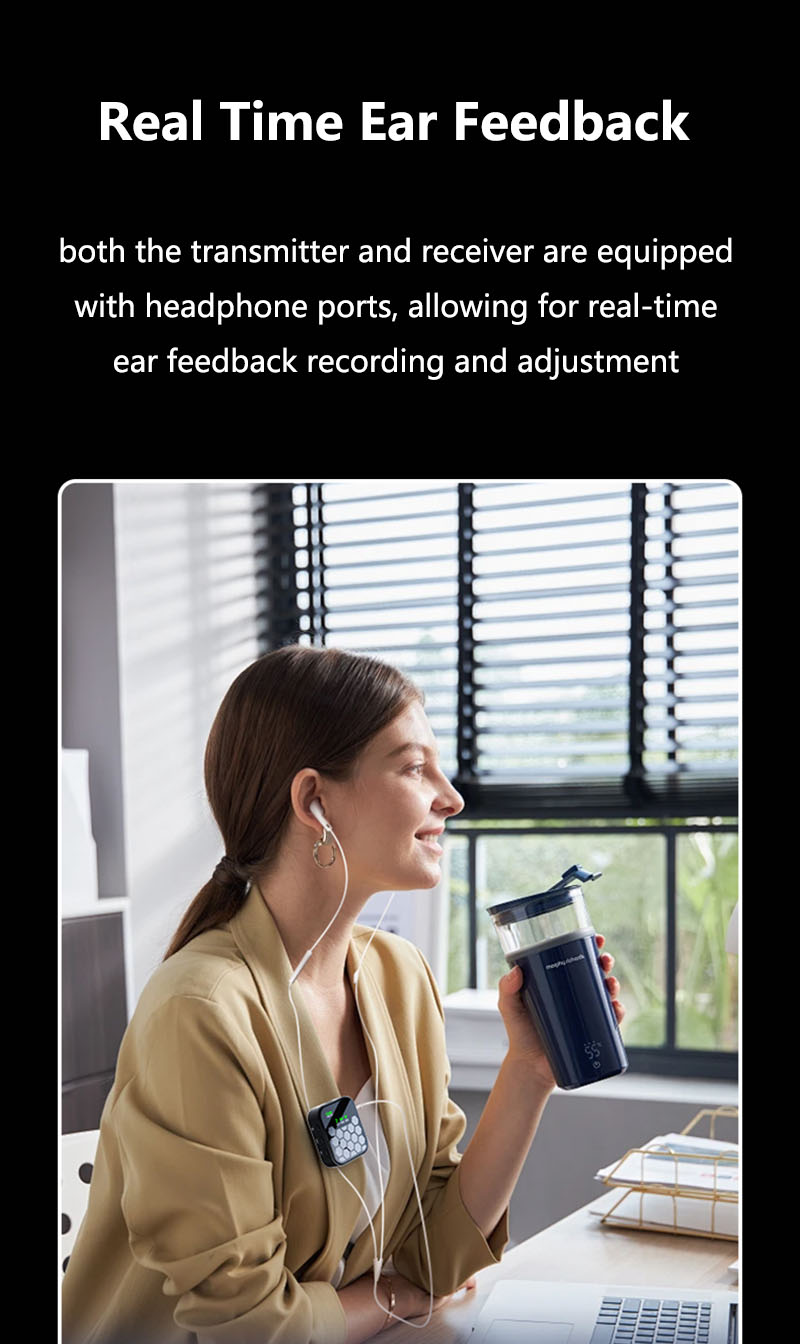
- Use headphones to monitor the audio directly from the receiver or recording device.
- Check for any interference, background noise, or signal dropouts.
8. Secure the Transmitter
- Attach the transmitter to your belt, pocket, or another secure location.
- Ensure the transmitter’s antenna is not blocked by clothing or other objects.
9. Start Recording or Speaking
- Once everything is set up and tested, you’re ready to use the wireless lavalier microphone for your presentation, interview, or performance.
Tips for Optimal Performance
- Avoid Interference: Keep the receiver close to the transmitter and away from other wireless devices (e.g., Wi-Fi routers, cell phones).
- Battery Life: Use fresh or fully charged batteries to avoid interruptions.
- Cable Management: Keep cables organized to prevent tangling or tripping hazards.
- Mic Placement: Experiment with mic placement to achieve the best sound quality.
Troubleshooting Common Issues
- No Sound: Check if the microphone is muted, the transmitter and receiver are paired, and the cables are properly connected.
- Interference: Change the frequency or channel on the transmitter and receiver.
- Low Volume: Increase the gain on the receiver or audio system.
- Background Noise: Reposition the microphone or use a windscreen to reduce noise.
By following these steps, you can effectively use a wireless lavalier microphone for clear, professional audio in any setting. Refer to the user manual for specific instructions related to your model.


