How To Use Wireless Lavalier Microphone For Android
How To Use Wireless Lavalier Microphone For Android
How To Use Wireless Lavalier Microphone For Android

Using a wireless lavalier microphone with an Android device can greatly enhance your audio recording quality, especially for videos, interviews, or live streaming. Here’s a step-by-step guide to set it up:
1. Check Compatibility
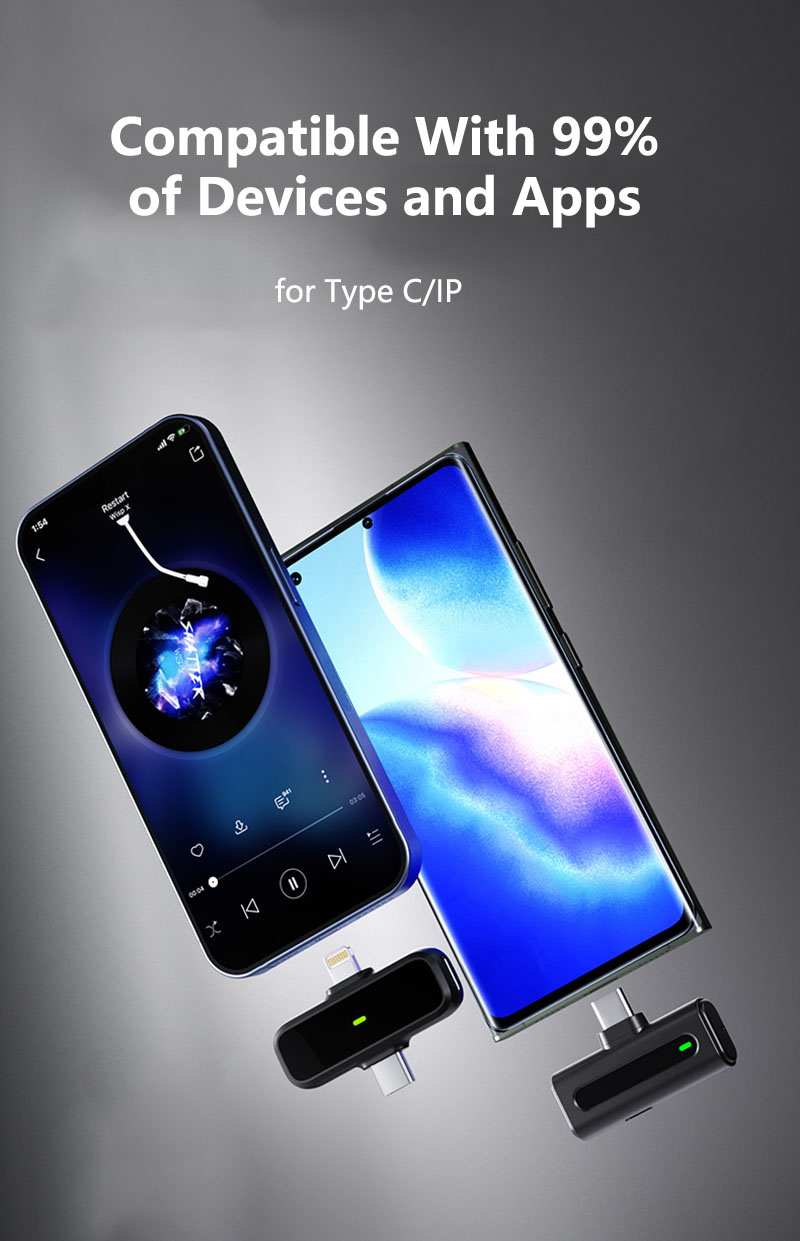
- Ensure the wireless lavalier microphone is compatible with Android devices. Some microphones may require specific apps or adapters.
2. Unbox and Inspect
- Microphone: The lavalier microphone itself.
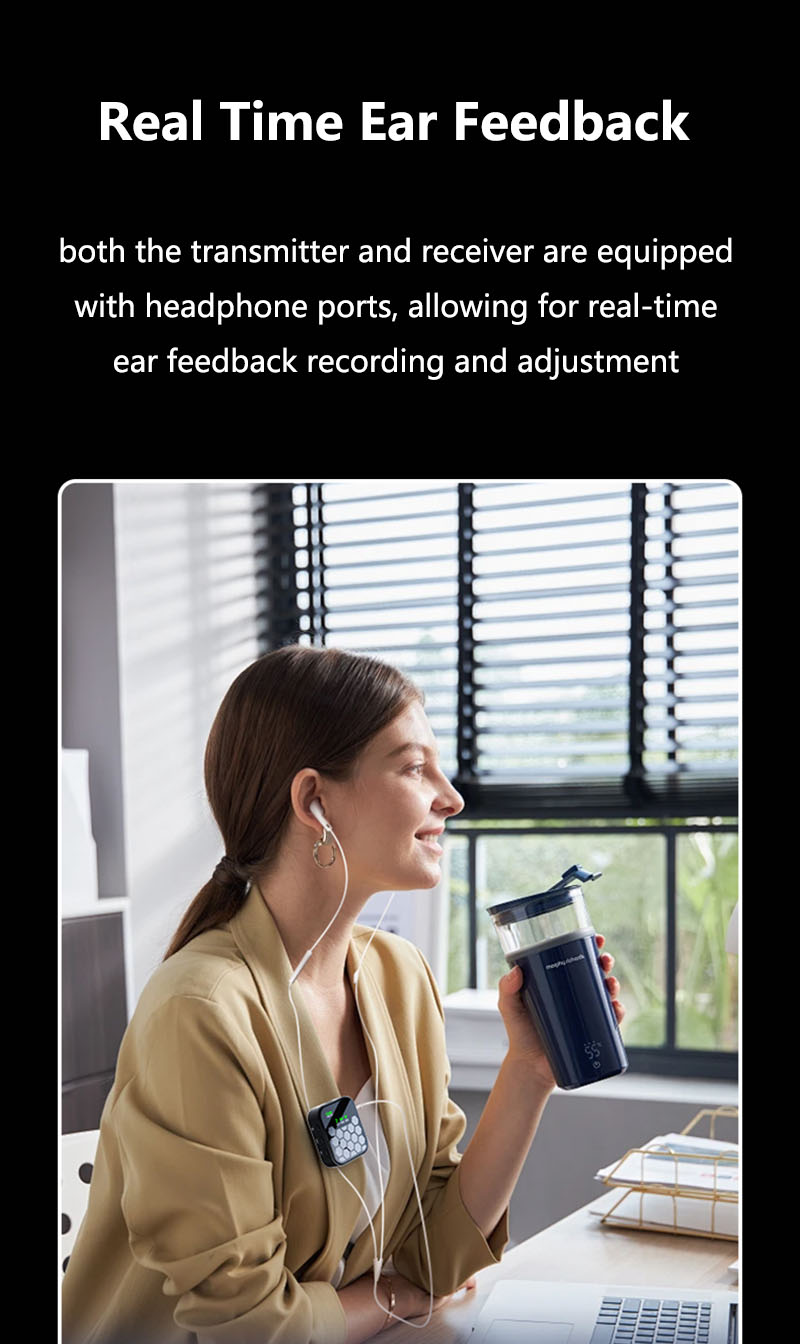
- Transmitter: The unit that sends the audio signal from the microphone.
- Receiver: The unit that receives the signal and connects to your Android device.
- Cables: Typically includes a TRRS cable (3.5mm with three black rings) or a USB-C cable for connecting the receiver to your Android device.
- Power Adapters: For charging the transmitter and receiver.
3. Charge the Devices
- Charge the transmitter and receiver fully before use to avoid interruptions.
4. Power On
- Transmitter: Turn on the transmitter and attach the lavalier microphone to it.
- Receiver: Turn on the receiver.
5. Pair the Transmitter and Receiver
- Most wireless lavalier systems come pre-paired. If not, follow the manufacturer’s instructions to pair them.
- This usually involves setting both devices to the same frequency or channel.
6. Connect the Receiver to Your Android Device
- TRRS Cable: If your Android device has a 3.5mm jack, connect the receiver to the device using the TRRS cable.
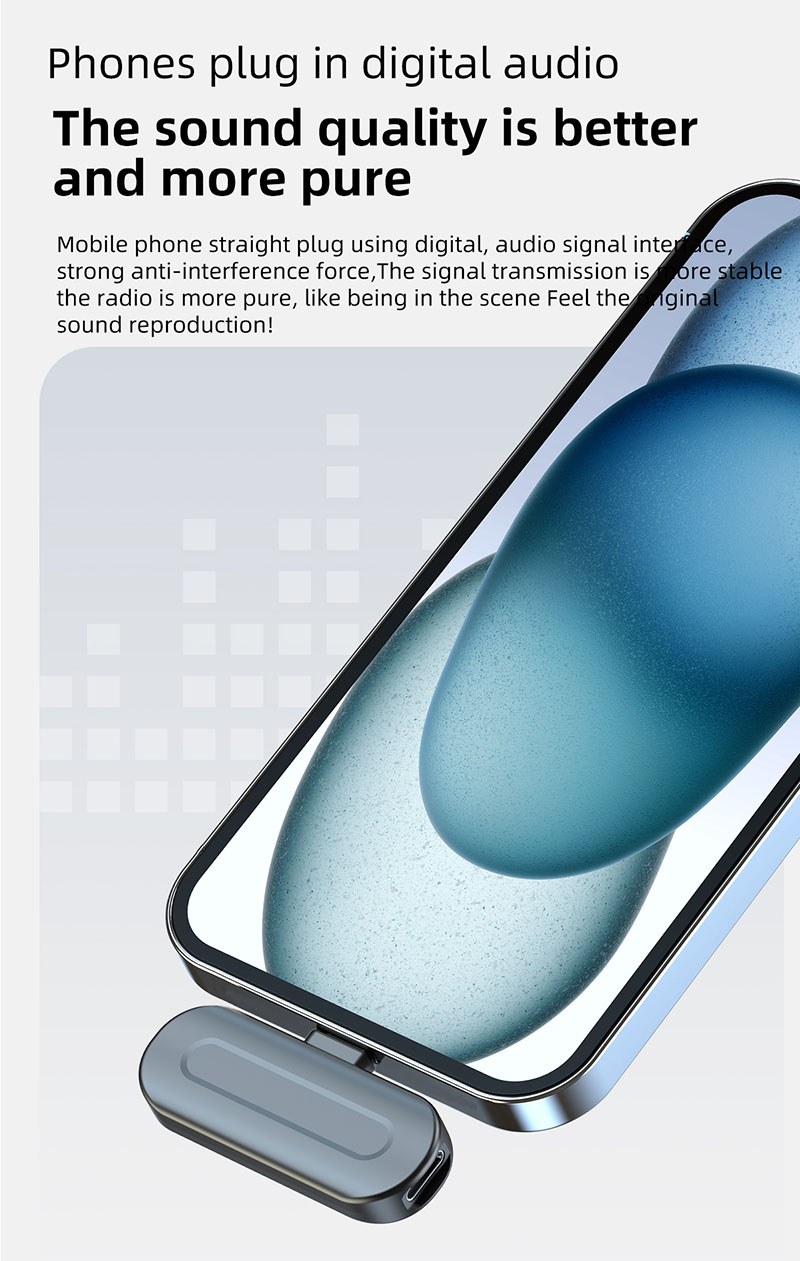
- USB-C Cable: If your Android device uses USB-C, connect the receiver using the USB-C cable.Please,Check OTG Function is open!
- Adapter: If your Android device lacks a 3.5mm jack, you may need a USB-C to 3.5mm adapter.
7. Configure Audio Settings on Your Android Device
- Open the camera or recording app you plan to use.
- Go to the app’s settings and ensure the audio input is set to the external microphone (receiver).
- Some apps may automatically detect the external microphone, while others may require manual selection.
8. Test the Microphone
- Speak into the lavalier microphone and check if the sound is being captured by your Android device.
- Adjust the microphone’s position and the receiver’s volume/gain settings to ensure clear audio without distortion.
9. Positioning
- Lavalier Microphone: Clip the microphone to your clothing, about 6-8 inches from your mouth. Ensure it’s not rubbing against clothing to avoid noise.
- Receiver: Keep the receiver close to your Android device to ensure a strong connection.
10. Monitor and Adjust
- Continuously monitor the audio quality during recording.
- Be prepared to make adjustments to the microphone’s position or the receiver’s settings as needed.
11. Power Down
- After use, turn off the transmitter and receiver.
- Disconnect the receiver from your Android device.
Tips for Optimal Performance:
- Line of Sight: Keep the transmitter and receiver in line of sight to avoid signal dropouts.
- Interference: Avoid using the microphone near other wireless devices or strong RF sources.
- Battery Life: Always have spare batteries or a power bank on hand for extended use.
Troubleshooting:
- No Sound: Check connections, ensure both units are on, and confirm they are on the same frequency.
- Interference: Change the frequency or channel, and ensure no other devices are causing interference.
- Distortion: Lower the gain on the receiver or the volume on the recording app.
By following these steps, you should be able to effectively use a wireless lavalier microphone with your Android device for high-quality audio recording.


