How to Use a Wireless Lavalier Microphone with an iPhone
How to Use a Wireless Lavalier Microphone with an iPhone

How to Use a Wireless Lavalier Microphone with an iPhone
Wireless lavalier microphones have become increasingly popular for content creators, journalists, vloggers, and professionals who need high-quality audio recording on the go. When paired with an iPhone, these microphones offer a convenient and portable solution for capturing clear audio in various settings. In this article, we’ll explore how to use a wireless lavalier microphone with an iPhone, including setup, compatibility, and tips for optimal performance.
What is a Wireless Lavalier Microphone?
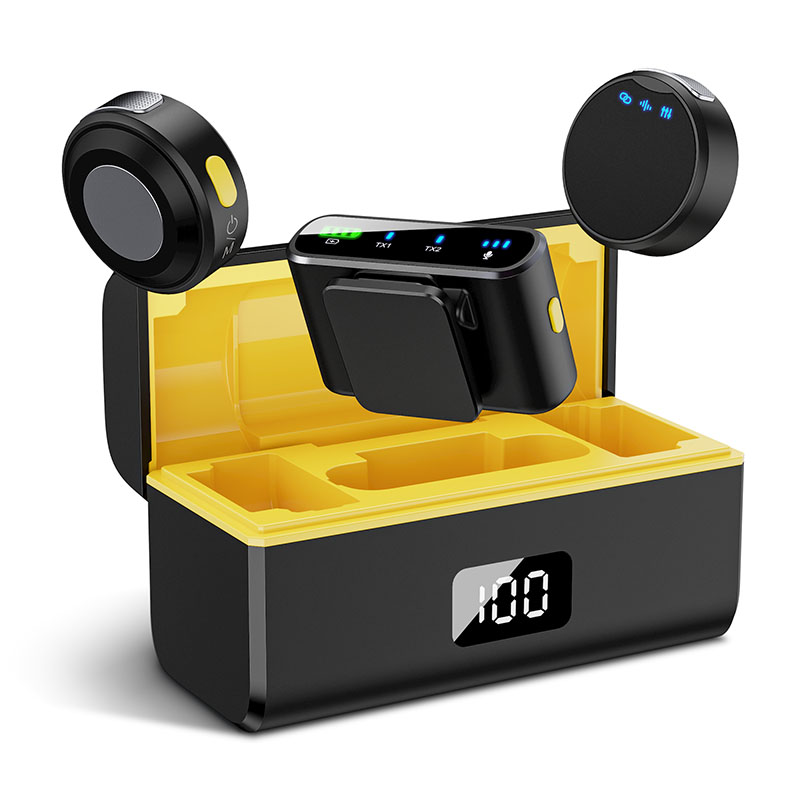
CNBEWIN wireless lavalier microphone, also known as a lapel mic, is a small microphone that can be clipped onto clothing, typically near the speaker’s mouth. Unlike wired lavalier mics, wireless versions transmit audio signals to a receiver via Bluetooth or radio frequency (RF), eliminating the need for cables and providing greater freedom of movement.
Step-by-Step Guide to Using CNBEWIN Wireless Lavalier Microphone with an iPhone
1. Choose a Compatible Wireless Lavalier Microphone
Not all wireless lavalier microphones are designed to work with iPhones. When selecting a microphone, ensure it is compatible with iOS devices. Popular options include the Rode Wireless GO II, DJI Mic, and Saramonic Blink 500. These devices often come with a receiver that connects directly to the iPhone via the Lightning port or USB-C (for newer iPhone models).
2. Charge the Microphone and Receiver
Before use, make sure both the lavalier microphone and its receiver are fully charged. Most wireless systems come with a charging case or USB cable for this purpose. A fully charged device ensures uninterrupted recording.
3. Connect the Receiver to Your iPhone
The connection method depends on the microphone system:
- Lightning Connection: If the receiver has a Lightning connector, simply plug it into your iPhone’s Lightning port.
- USB-C Connection: For iPhones with a USB-C port (e.g., iPhone 15 series), use a USB-C receiver or an adapter.
- Bluetooth Connection: Some wireless lavalier microphones connect via Bluetooth. To pair, enable Bluetooth on your iPhone, turn on the microphone, and select the device from the Bluetooth menu.
4. Attach the Lavalier Microphone
Clip the lavalier microphone to your clothing, about 6-8 inches below your chin. Ensure the microphone is not obstructed by clothing or accessories, as this can muffle the sound. Position the microphone cable discreetly to avoid interference.
5. Adjust Settings on Your iPhone
Open your preferred recording app (e.g., Camera, Voice Memos, or a third-party app like Filmic Pro). Check the audio input settings to ensure the iPhone is using the lavalier microphone as the audio source. Some apps may require manual selection of the external microphone.
6. Test the Audio
Before starting your recording, conduct a quick audio test. Speak into the microphone at your normal volume and monitor the audio levels on your iPhone. Adjust the microphone’s gain or sensitivity if necessary to avoid distortion or low volume.
7. Start Recording
Once everything is set up, begin your recording. The wireless lavalier microphone will capture your voice clearly, even if you move around. Keep the receiver close to your iPhone to maintain a strong signal.
Tips for Optimal Performance
- Minimize Interference: Wireless microphones can be affected by interference from other electronic devices. Avoid using the microphone near Wi-Fi routers, Bluetooth devices, or crowded RF environments.
- Monitor Battery Life: Keep an eye on the battery levels of both the microphone and receiver to avoid sudden disconnections during recording.
- Use a Windscreen: If recording outdoors, attach a foam windscreen to the lavalier microphone to reduce wind noise.
- Check Compatibility: Ensure your iPhone’s iOS version is up to date and compatible with the microphone system.
Advantages of Using a Wireless Lavalier Microphone with an iPhone
- Portability: Wireless lavalier microphones are compact and easy to carry, making them ideal for on-the-go recording.
- Improved Audio Quality: Compared to the iPhone’s built-in microphone, a lavalier mic provides clearer and more professional audio.
- Hands-Free Operation: With the microphone clipped to your clothing, you can use your iPhone for filming or other tasks without holding a microphone.
- Versatility: Wireless lavalier microphones are suitable for various applications, including interviews, podcasts, video recording, and live streaming.
Conclusion
Using a wireless lavalier microphone with an iPhone is a straightforward process that can significantly enhance your audio recording quality. By following the steps outlined above, you can easily set up and use a wireless lavalier microphone for professional-grade audio in any situation. Whether you’re creating content, conducting interviews, or recording presentations, this combination offers a reliable and portable solution for capturing clear and crisp sound.
")
")
")