How To Get Wireless Microphone To Work
How To Get Wireless Microphone To Work
How To Get Wireless Microphone To Work

Getting your wireless microphone to work properly involves setup, pairing, and troubleshooting. Below is a step-by-step guide to ensure your wireless mic functions correctly, whether for live performance, streaming, recording, or phone use.
Step-by-Step: How to Get a Wireless Microphone Working
1. Check the Basics
✅ Power On
Ensure the transmitter (mic) and receiver are charged or have fresh batteries.
Some mics use internal batteries—charge via USB.
✅ Frequency & Channel Sync
Most UHF systems require manual frequency selection (avoid interference).
For digital systems, they often auto-pair when turned on.
✅ Cables & Connections
If using an XLR/3.5mm output, ensure cables are properly connected.
For USB receivers, plug securely into a PC/phone.
2. Pairing the Microphone (If Not Auto-Syncing)
For UHF Systems
Turn on receiver first, then the transmitter (mic).
Set both to the same frequency/channel (check LCD screen).
If interference occurs, scan for a clean frequency (most pro systems have this feature).
For Digital Wireless Systems
Just turn on both devices—they usually auto-pair.
If not, check the manual for a sync button (hold for 3 sec).
For Bluetooth Mics
Enable Bluetooth on your phone/PC.
Put the mic in pairing mode (usually by holding a button).
Select the mic from the Bluetooth list.
3. Connecting to Your Device
To a PC/Laptop
USB Receiver → Plug into USB port (should auto-detect).
XLR/3.5mm Receiver → Connect to an audio interface or PC mic input.
Settings: Select the mic as the input in Sound Settings (Windows) or Audio MIDI Setup (Mac).
To a Phone (iPhone/Android)
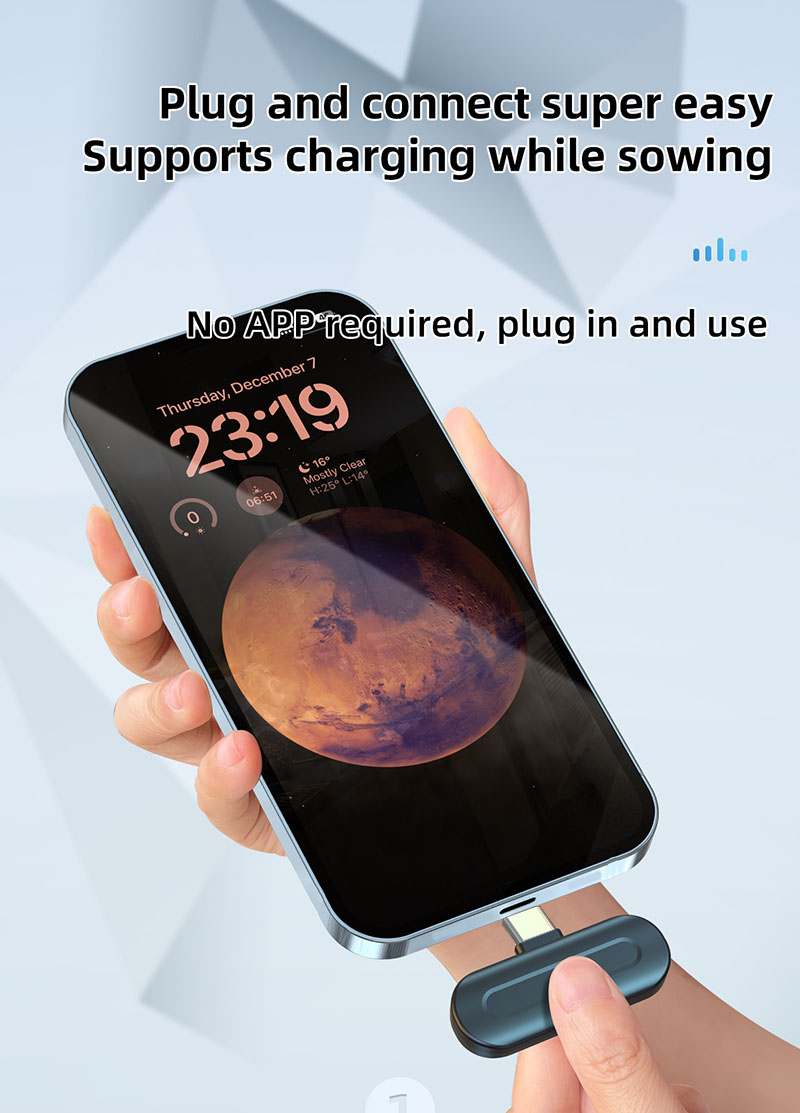
USB-C/Lightning → Plug in the receiver (may need an adapter for iPhones).
3.5mm Jack → Use a TRRS cable (if mic supports smartphone input).
Bluetooth → Pair via Bluetooth settings (may have latency).
To a Camera (DSLR, Mirrorless)
Use the receiver’s 3.5mm output → Plug into the camera’s mic input.
Adjust audio levels in the camera settings.
4. Testing & Troubleshooting
No Sound?
Check volume levels on the receiver and device.
Ensure the mic is not muted (some have physical mute switches).
Try a different cable (if using XLR/3.5mm).
Static/Interference?
Change the frequency/channel (for UHF mics).
Move away from Wi-Fi routers, Bluetooth devices, or other wireless mics.
Use a shorter cable or ferrite choke to reduce noise.
Battery Issues?
Replace batteries or charge fully.
Some mics (like Shure systems) show battery status on the receiver.
Latency (Audio Delay)?
Avoid Bluetooth mics for video (use USB or 2.4GHz systems instead).
On PC, use ASIO drivers (for USB interfaces) to reduce delay.
5. Optimal Settings for Best Sound
Gain Staging: Set the mic’s gain so it’s loud but not clipping.
Wind Protection: Use a foam windscreen if outdoors.
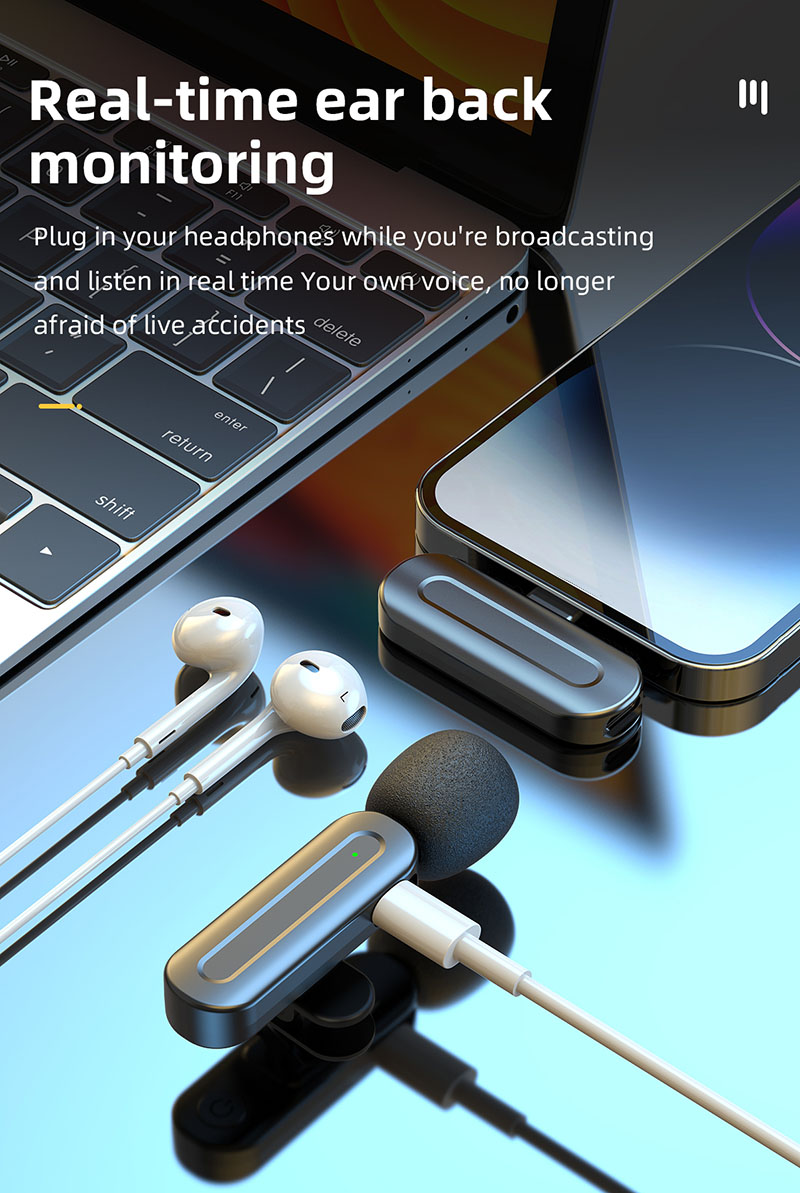
Monitoring: If recording, use headphones to check audio quality.
Quick Fixes for Common Wireless Mic Problems
| Problem | Solution |
|---|---|
| Mic not turning on | Check batteries, charge, or replace. |
| No sound from receiver | Verify cables, input selection, and mute switch. |
| Static/crackling noise | Change frequency, reduce Wi-Fi interference. |
| Audio cutting out | Check battery, range (stay within 50-100ft). |
| Delay in audio (latency) | Use a wired connection or better wireless system. |
If your mic still doesn’t work, check the manual or reply with your mic model and issue—I’ll help troubleshoot! 🎤🔊


