How To Connect Wireless Lavalier Microphone
How To Connect Wireless Lavalier Microphone
How To Connect Wireless Lavalier Microphone

Connecting a wireless lavalier microphone involves a few straightforward steps. Here’s a general guide to help you set it up:
What You’ll Need:
- Wireless lavalier microphone system (includes a transmitter and receiver).
- Audio device (camera, smartphone, computer, or mixer).
- Cables (if needed, such as XLR, 3.5mm, or USB).
Steps to Connect a Wireless Lavalier Microphone:
1. Set Up the Transmitter and Receiver
- Transmitter: This is the small device that connects to the lavalier microphone. Clip it to your belt or clothing.
- Receiver: This is the device that captures the signal from the transmitter. Place it near your recording device (camera, computer, etc.).
2. Power On the Devices
- Turn on both the transmitter and receiver. Ensure they are fully charged or have fresh batteries.
3. Pair the Transmitter and Receiver
- Most wireless systems automatically pair when turned on. If not, follow the manufacturer’s instructions to manually pair them (this may involve selecting the same frequency or channel on both devices).
4. Connect the Receiver to Your Audio Device
- For Cameras: Use the appropriate cable (usually a 3.5mm TRS or TRRS cable) to connect the receiver’s output to the camera’s microphone input.
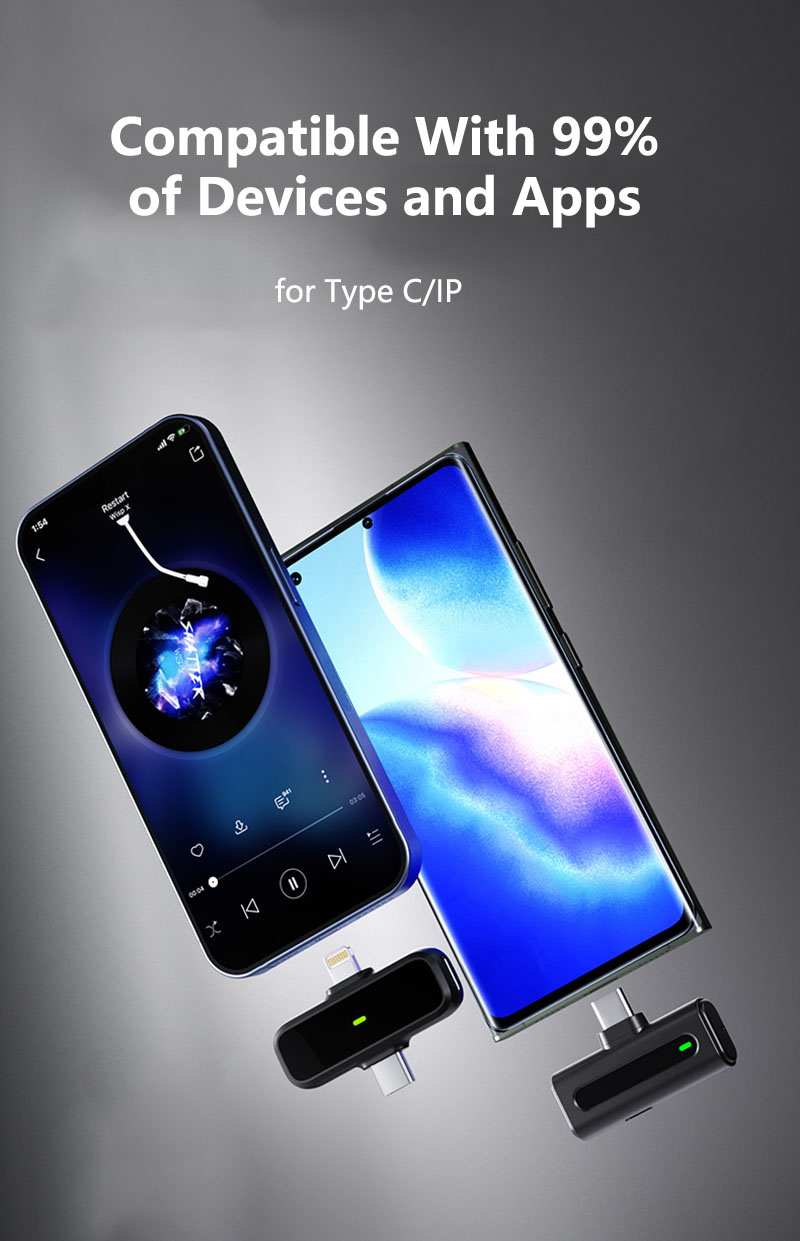
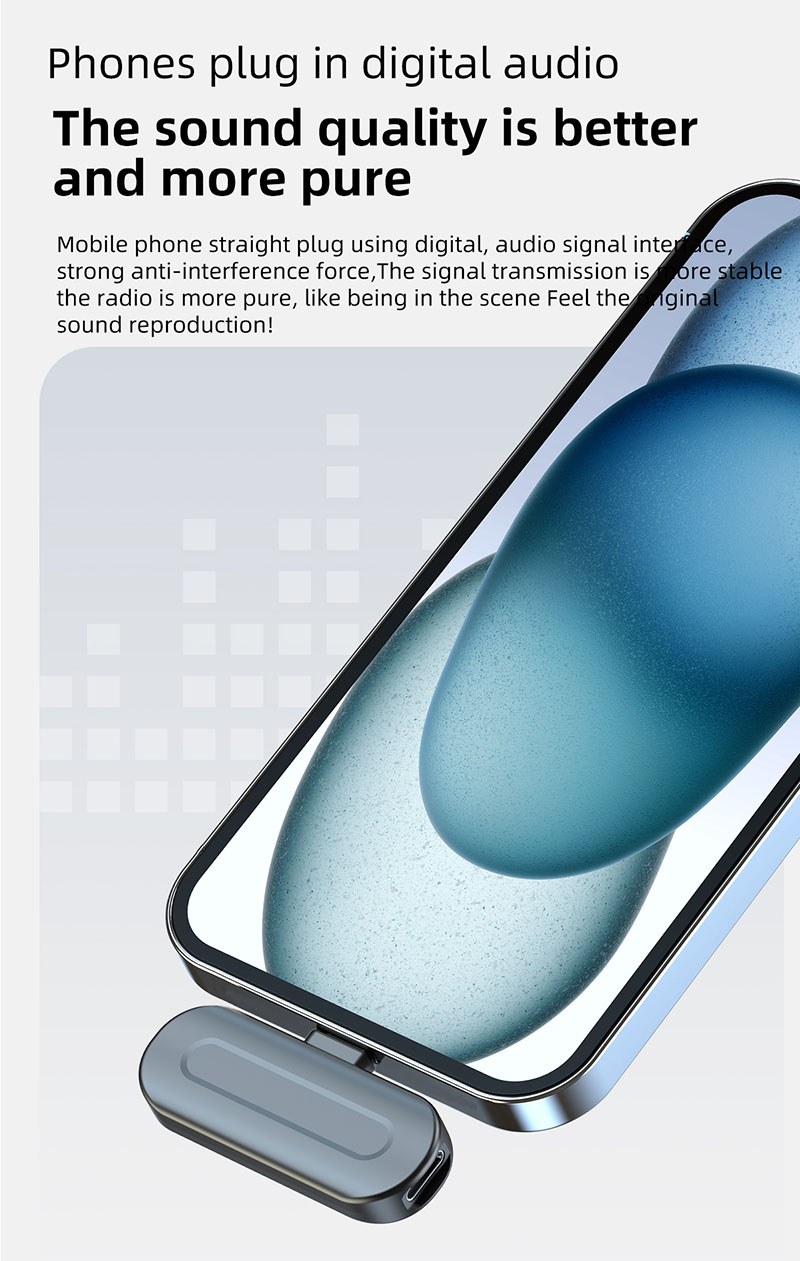
- For Smartphones: Use a compatible adapter (e.g., Lightning to 3.5mm or USB-C to 3.5mm) if your phone doesn’t have a headphone jack.
- For Computers: Connect via USB (if the receiver has a USB output) or use a 3.5mm audio cable.
- For Mixers: Use an XLR cable if the receiver has an XLR output.
5. Adjust Audio Levels
- Set the gain or volume on the receiver and your recording device to avoid distortion or low audio levels.
- Test the audio by speaking into the lavalier microphone and monitoring the output.
6. Position the Lavalier Microphone
- Clip the lavalier microphone to your clothing, about 6–8 inches below your chin.
- Ensure the microphone is not rubbing against clothing, as this can cause noise.
7. Test and Record
- Perform a sound check to ensure the audio is clear and free of interference.
- Start recording or presenting.
Tips for Optimal Performance:
- Avoid Interference: Keep the transmitter and receiver within the recommended range (usually 100–300 feet) and avoid obstacles like walls or metal objects.
- Use Fresh Batteries: Low battery levels can cause signal dropouts or poor audio quality.
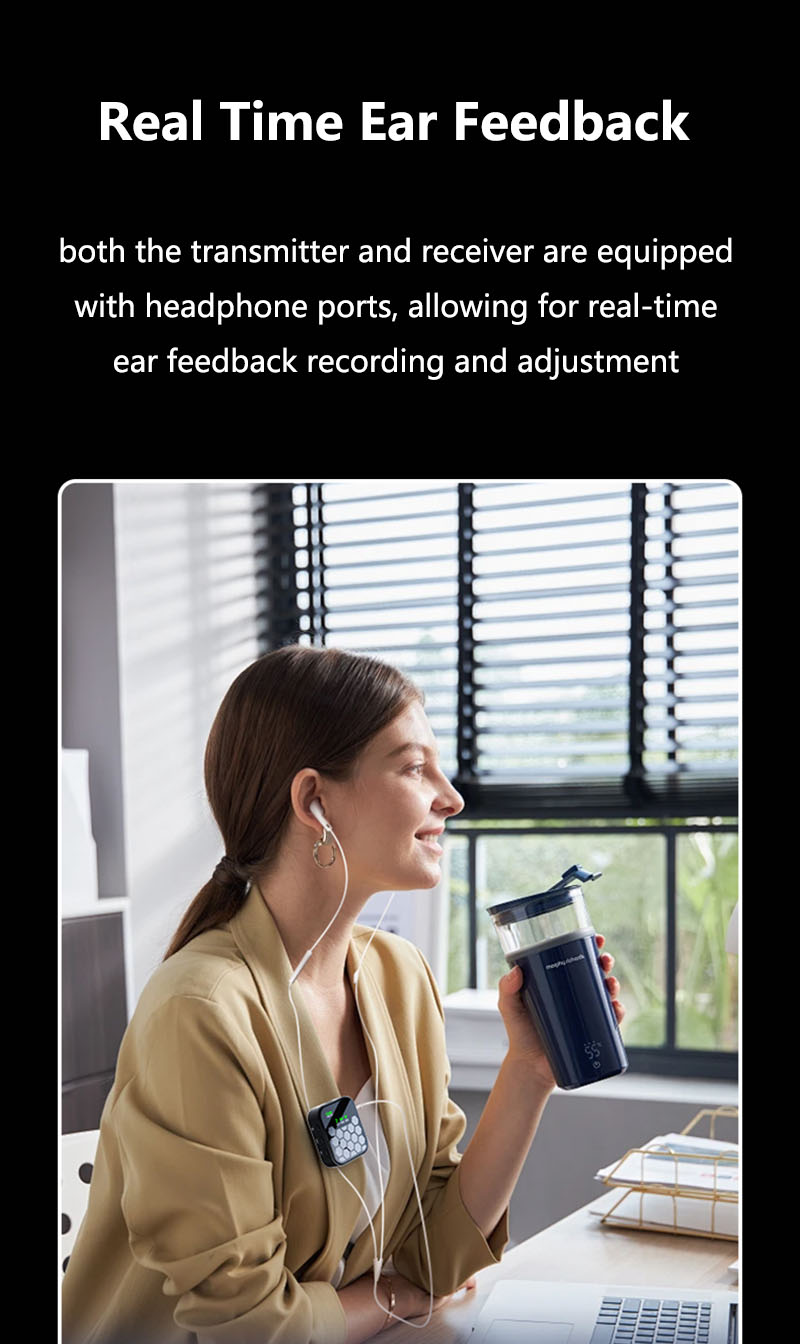
- Monitor Audio: Use headphones to monitor the audio in real-time if possible.
- Secure Cables: Ensure all cables are securely connected to avoid disconnections during use.
Troubleshooting Common Issues:
- No Sound: Check if the transmitter and receiver are paired and powered on. Ensure the microphone is not muted.
- Interference: Change the frequency or channel on the receiver and transmitter.
- Low Volume: Adjust the gain on the receiver or recording device.
By following these steps, you should be able to connect and use CNBEWIN wireless lavalier microphone effectively for recording, presentations, or live performances.


