How To Connect A Wireless Microphone To A Laptop
How To Connect A Wireless Microphone To A Laptop
How To Connect A Wireless Microphone To A Laptop

Connecting a wireless microphone to a laptop is a straightforward process, but the exact steps depend on the type of wireless microphone system you are using. Below are the most common methods:
1. Bluetooth Microphone
If your wireless microphone uses Bluetooth:
- Step 1: Turn on the Bluetooth microphone and put it in pairing mode (refer to the microphone’s manual for instructions).
- Step 2: On your laptop, enable Bluetooth:
- Windows: Go to Settings > Devices > Bluetooth & other devices and turn on Bluetooth.
- Mac: Go to System Preferences > Bluetooth and turn on Bluetooth.
- Step 3: Click Add Bluetooth or other device (Windows) or look for the microphone in the list of available devices (Mac).
- Step 4: Select the microphone from the list to pair it with your laptop.
- Step 5: Once paired, the microphone should be recognized as an audio input device. You may need to select it as the default microphone in your laptop’s sound settings.
2. USB Receiver
If your wireless microphone comes with a USB receiver:
- Step 1: Plug the USB receiver into an available USB port on your laptop.
- Step 2: Turn on the wireless microphone and ensure it is set to the same frequency or channel as the receiver.
- Step 3: Your laptop should automatically recognize the microphone as an audio input device.
- Step 4: If it doesn’t, go to your laptop’s sound settings:
- Windows: Right-click the speaker icon in the taskbar, select Sounds, and under the Recording tab, set the microphone as the default device.
- Mac: Go to System Preferences > Sound > Input and select the microphone.
3. 3.5mm Audio Jack
If your wireless microphone system uses a 3.5mm audio jack:
- Step 1: Connect the receiver’s 3.5mm output to your laptop’s microphone or line-in jack (if available).
- Step 2: Turn on the wireless microphone and ensure it is paired with the receiver.
- Step 3: Go to your laptop’s sound settings:
- Windows: Right-click the speaker icon, select Sounds, and under the Recording tab, set the microphone as the default device.
- Mac: Go to System Preferences > Sound > Input and select the microphone.
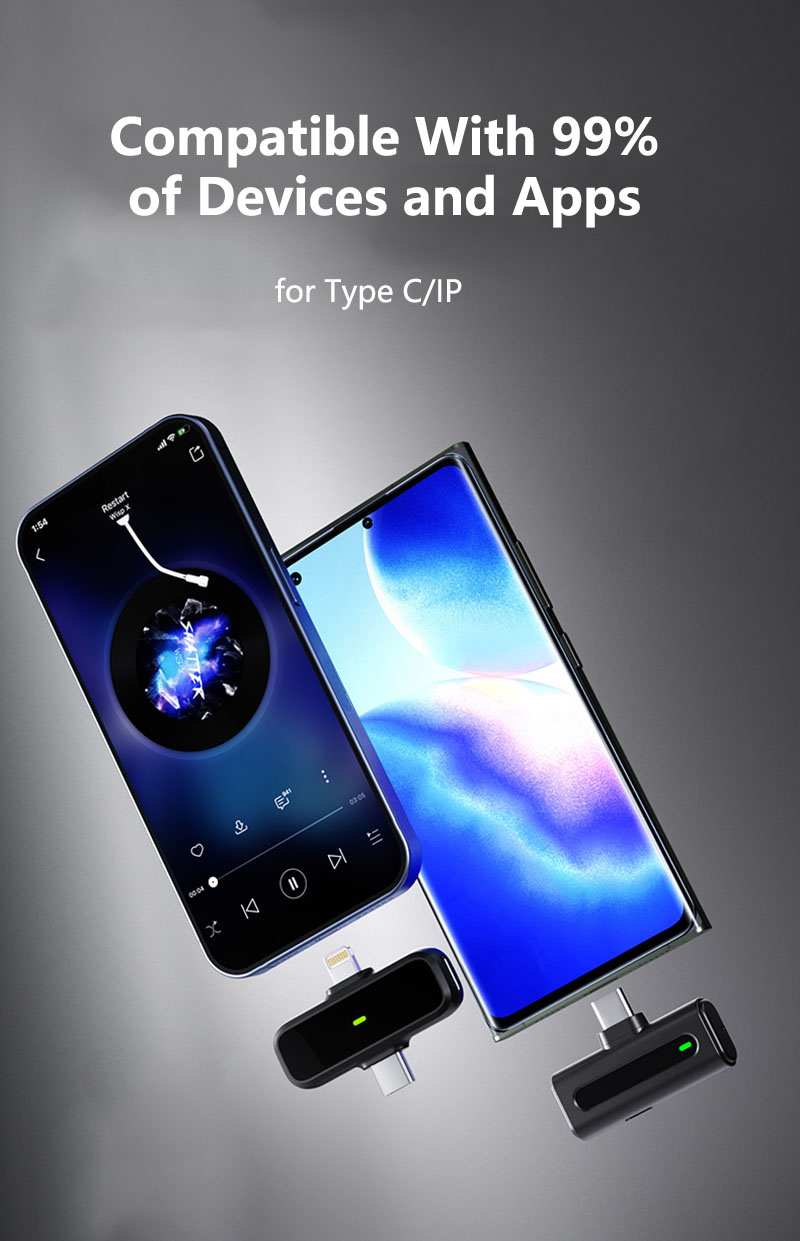
4. USB-C or Lightning Receiver
If your wireless microphone uses a USB-C or Lightning connector:
- Step 1: Connect the receiver to your laptop using the appropriate cable or adapter.
- Step 2: Turn on the wireless microphone and ensure it is paired with the receiver.
- Step 3: Your laptop should recognize the microphone as an audio input device. If not, check your sound settings as described above.
5. Software or App Integration
Some wireless microphones come with dedicated software or apps for laptops. Install the software provided by the manufacturer to ensure proper functionality and access to additional features.
Tips for Success:
- Check Compatibility: Ensure the wireless microphone system is compatible with your laptop’s operating system (Windows, macOS, etc.).
- Update Drivers: If the microphone isn’t recognized, update your laptop’s audio drivers.
- Power: Ensure the microphone and receiver are fully charged or have fresh batteries.
- Test the Microphone: Use your laptop’s sound settings or recording software to test the microphone and adjust input levels.
By following these steps, you should be able to connect your wireless microphone to your laptop and use it for recording, video conferencing, live streaming, or other audio needs.


